

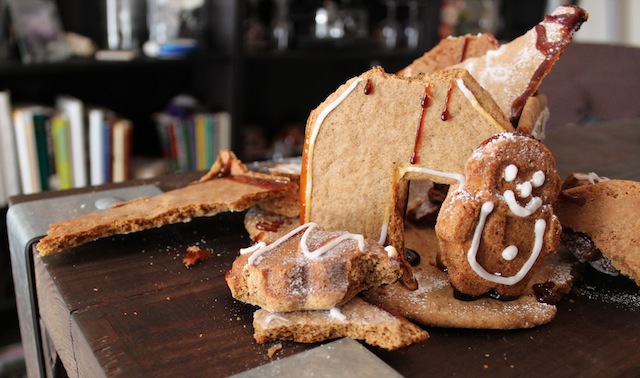
It's Gingerbread season and our resident pastry chef Rachel brought us a Superdome (ok more like who-dat house) for Monday night's game. We liked it so much we asked her to share the recipe with us.
"This was a staple of the holidays when I was growing up. Every year, my mom made a delicious Gingerbread house which we demolished with glee on New Year’s Eve. I remember being small and standing on my step stool at my place section of the counter watching as she rolled out the dough. I got to help cut out cookies and place trees and make the blizzard. As I got older I got to have more responsibility such as attaching the roof or actually cutting out the pieces. It was such a fun thing to do with my mom as a kid and so when I grew up and moved out on my own, the tradition continued.
The recipe below is taken almost verbatim from my mother’s cookbook except for a few minor tweaks I make and really enjoy." --Rachel
Gingerbread Dough (yields one small gingerbread house and 2 dozen small cookies)
1 1/4 cups sugar 3/4 cup maple syrup
1 tablespoon ground cinnamon
1 tablespoon ground cloves
1 tablespoon ground nutmeg
3/4 cup whipping cream
1 stick butter, melted
2 teaspoons baking soda
4 cups flour (I like the light Whole Wheat from Trader Joe’s but, hey, that’s just me)
Step 1.) Making the Dough
Measure all ingredients into a large mixing bowl. Mix until completely smooth and free of lumps. (If the dough feels too heavy to mix, hand knead it until smooth.) Cover tightly with plastic wrap and refrigerate at least overnight, preferably for two days.
 |
| Download and Print out for your house! |
On a well-floured board, roll out about 1/5 of the dough to a thickness of a little more than 1/16 of an inch. Roll from the center out. After a few passes with the rolling pin, lift the dough off the board to rotate and, if necessary, to add flour to prevent sticking. Keep your hands and the rolling pin floured as well. Working in a cool kitchen helps, too.
Lay the paper patterns over the dough and cut along the edges with a sharp knife, pizza cutter, or cookie cutter. (For a traditional cottage: one end wall should have a door as in the picture on top of this page; the other end should have a window.)
Remove each piece with a spatula immediately after cutting and place on a buttered cookie sheet. (I used Parchment Paper this year and it worked great!) Roll out additional dough as needed to cut out all the house pieces. Then cut trees, shrubs, people, animals, skis, fences, ladders--whatever you would like to see in the "yard". Use another large chunk of dough to roll out a 10x12 inch oval, slightly thicker than the house pieces. This will be the "lot" your house will stand on.
Step 3.) The Baking
Bake the pieces for five or six minutes in 350°. (As oven temperatures vary, bake a test cookie first.) Keep an eye on the small pieces to keep them from turning too dark. Let set for a minute or two on the cookie sheet, then remove carefully with a spatula and let cool on a wire rack or wooden board. Because it is thicker, the "lot" will take several minutes longer to cook.
Step 4.) The Decorating
Mix 1 1/2 cups powdered sugar with 5 tsp of water in a small mixing bowl until spreading consistency. If you do not have pastry bag, make a funnel out of piece of waxed paper folded in two. Roll into a cone and secure with two or three pins. Fill with frosting and cut a small hole in the tip. Carefully squeeze out frosting to draw a straight or wavy line around all the house pieces. Draw shingles on the roof and add hearts and other little touches where they look nice. (Here's where you get creative even if using my standard house design. The decoration says it's your very own house.) Let dry several hours, preferably overnight, before assembling the house.
Step 5.) Putting the House Together
Place 1/2 cup of sugar in a frying pan. Melt carefully over medium heat for 3-4 minutes. When the sugar begins to turn brown around the edges, begin to stir to avoid burning. Then turn the heat down and keep it as low as possible. The sugar should remain liquid but not start turning really brown.
Working carefully (Ouch! Hot sugar hurts!) but quickly, dip the bottom of the back wall in the melted sugar and place it in the back of the "lot". Hold for a few seconds to set. The sugar hardens quickly and the wall will soon stand on its own. Then pick up a side wall. Dip the end that will form a corner with the back wall, then dip the bottom, and press the wall in place. Repeat with the remaining walls. Watch out for your fingers! If the sugar hardens too quickly to form a good joint, pick up extra sugar with a teaspoon and pour it into place. To put on the roof, use a teaspoon to put some sugar on top of the walls and press the roof sections in place. Drizzle an extra spoonful of sugar where the roof sections meet to reinforce the seam.
Step 6.) More Decorating!
Decorate the yard as you wish with trees, animals, and people, Walnuts make nice rocks, and raisins and chocolate chips can edge garden paths. Last of all, put some powdered sugar in a tea strainer and make a snowfall.
Enjoy Ya'll!
No comments:
Post a Comment